

As an Amazon Associate, I earn from qualifying purchases. Privacy Policy / Terms
We’ve all been there—watching a DIY home improvement video, feeling inspired, and thinking, “How hard can painting really be?” Fast forward a few hours (or days), and you’re standing in a room that looks like a kindergarten art project gone wrong. Whether it’s a botched interior painting job or an exterior painting disaster that has the neighbors talking, DIY painting mishaps are both hilarious and avoidable.
In this article, we’ll take a lighthearted look at some of the funniest painting fails, while also providing tips on how to fix (or, better yet, avoid) them in the first place.
1. The Infamous Drippy Walls
The Fail: You roll on a fresh coat of paint, step back to admire your work, and then—wait, why are there streaks running down the wall? Turns out, your masterpiece is melting like a bad wax figure.
Why It Happens: Too much paint on the roller, not waiting for coats to dry, or a humid environment can cause streaks and drips to form.
The Fix: Grab a brush or roller and lightly smooth out the drips while the paint is still wet. If it has dried, you’ll need to sand it down and repaint the affected area. Next time, apply thin, even coats and give them enough drying time before adding another layer.
2. The “Patchy Picasso” Effect
The Fail: You finish painting, let it dry, and then realize the walls look like a blotchy cowhide. Some areas are darker, some are lighter, and the whole thing just screams “bad decision.”
Why It Happens: Skipping primer, using cheap paint, or not using enough coats can lead to uneven coverage.
The Fix: If your paint job looks like camouflage gone wrong, a second (or third) coat is often the best solution. Be sure to use a high-quality primer first, especially when covering dark colors or fresh drywall.
3. The “Oops, That Was the Ceiling”
The Fail: You’re confidently cutting in along the edges of the wall when suddenly—your roller takes an unexpected detour onto the ceiling. Congratulations, you’ve now got an accidental two-tone room.
Why It Happens: Using too much paint on the brush or not being careful near edges.
The Fix: If the mistake is fresh, use a damp cloth to wipe it away. If it’s dry, carefully touch up the ceiling with its original paint color. Next time, use painter’s tape and a steady hand!
4. The “Furniture Fresco”
The Fail: You thought you covered everything with drop cloths, but somehow, your couch, table, and cat now have a fine misting of your chosen paint color.
Why It Happens: Not covering furniture properly or underestimating how far paint can travel.
The Fix: If the paint is still wet, wipe it up immediately with a damp cloth. If it’s dried on fabric, rubbing alcohol or a fabric-safe cleaner may help. Next time, remove furniture from the room or use plastic sheets for full coverage.
5. The Tape Tragedy
The Fail: You peel off your painter’s tape expecting crisp, clean lines—but instead, half your wall paint comes off with it, leaving behind a jagged mess.
Why It Happens: Removing tape too late, using the wrong tape, or applying it to an unprimed surface.
The Fix: Touch up the damaged areas with a small brush. Next time, use high-quality painter’s tape and remove it at a 45-degree angle while the paint is still slightly wet.
6. The Color Catastrophe
The Fail: That warm beige you picked out looked perfect in the store. But now that it’s on your walls, it’s more “sickly mustard” than “cozy neutral.”
Why It Happens: Lighting changes how paint appears, and those tiny sample chips can be deceiving.
The Fix: If you hate the color, repainting is the only solution. Next time, buy a small sample and test it in different lighting conditions before committing.
7. The “Why is This Taking Forever?” Moment
The Fail: You assumed painting a room would be a quick weekend project, but now it’s been three weeks and your house is still half-covered in blue painter’s tape.
Why It Happens: Underestimating prep time, drying time, and the overall effort required.
The Fix: Plan ahead and set realistic expectations. Prepping, priming, and applying multiple coats all take time, so give yourself more than just a few hours.
8. The Weather Woes
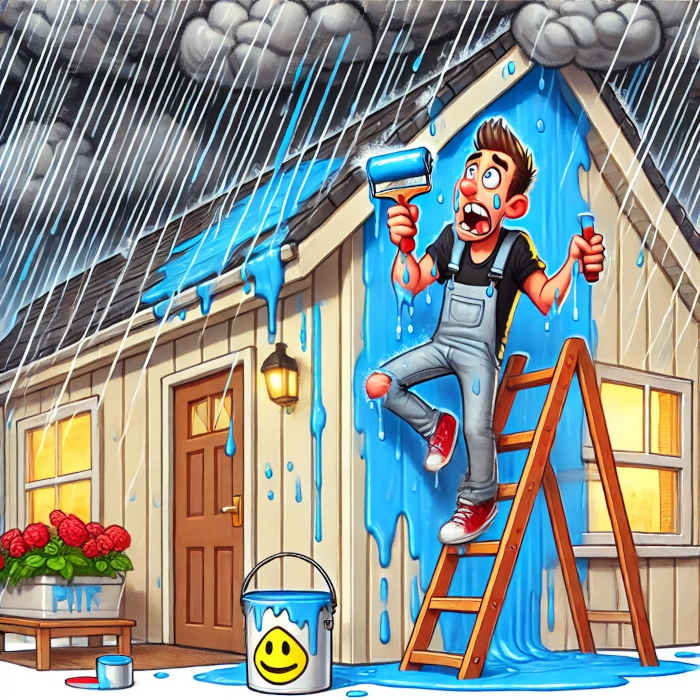
The Fail: You decide to tackle some exterior painting on a nice sunny day, but by the next morning, your fresh coat is bubbling, peeling, or looking downright awful.
Why It Happens: Painting in direct sunlight, high humidity, or on wet surfaces.
The Fix: Scrape off the damaged paint, sand the area, and repaint under the right conditions. Always check the weather before painting outside and avoid painting in extreme temperatures or direct sunlight.
9. The “Furry” Finish
The Fail: You step back to admire your work and notice little fuzzies embedded in the paint—turns out, your roller shed more than a golden retriever.
Why It Happens: Low-quality rollers or failing to remove lint before use.
The Fix: If the paint is wet, remove the fuzzies with tweezers. If dry, lightly sand and repaint. Next time, use a high-quality roller and roll it over painter’s tape to remove loose fibers before starting.
10. The “Handprint Hall of Fame”
The Fail: You finish painting, feel proud of yourself, and—oops—grab the door frame, leaving a perfect handprint behind.
Why It Happens: Impatience.
The Fix: If the paint is still wet, smooth it out. If it’s dry, you’ll need a touch-up. Next time, allow adequate drying time before touching any surfaces.
How to Avoid DIY Painting Disasters
While these mistakes are funny in hindsight, they can be frustrating (and costly) to fix. Here are some simple ways to avoid them altogether:
- Prep Properly: Clean walls, use painter’s tape, and cover furniture and floors.
- Use Quality Tools & Paint: Cheap brushes and rollers lead to poor results.
- Take Your Time: Rushing leads to drips, uneven coats, and sloppy edges.
- Follow the Weather: Avoid exterior painting on humid, rainy, or extremely hot days.
- Test Colors First: Sample your paint in different lighting before committing.
- Don’t Skip Dry Time: Wait between coats to avoid streaks and peeling.
Final Thoughts
DIY painting can be a fun and rewarding project—when done right! But as these stories show, sometimes even the best intentions can lead to hilarious disasters. Whether you’re tackling interior painting or taking on an exterior painting project, a little patience and preparation can go a long way.
So, learn from these mistakes, take your time, and maybe, just maybe, your next DIY paint job won’t end up in the “Hall of Painting Fails.” But if it does—at least you’ll have a funny story to tell!
Views Expressed Disclaimer
The views, opinions, and information presented in this article are for informational purposes only and do not necessarily reflect the official policies or positions of Chagrin Falls Painting. While every effort has been made to ensure accuracy, Chagrin Falls Painting is not liable for any errors, omissions, or decisions made based on the content provided. Readers are encouraged to consult professionals for specific advice or assistance related to their unique circumstances.