
As an Amazon Associate, I earn from qualifying purchases. Privacy Policy / Terms
Painting is one of the easiest ways to transform a space, but honestly — it can also be messy, expensive, and downright frustrating if you don’t know the right tricks. Whether you’re a DIY enthusiast or just looking to freshen up your walls, these painting hacks will save you time, money, and sanity. Grab your rollers, put on some old clothes, and let’s get painting!
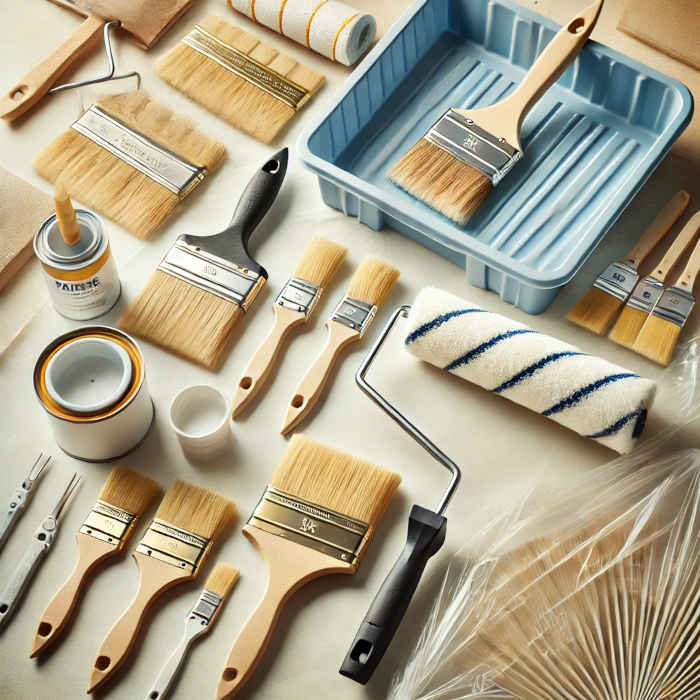
1. Invest in Multi-Purpose Tools
Why clutter your space with a dozen different painting tools when a few multi-purpose ones can do the job? Look for a 5-in-1 painter’s tool—it scrapes, spreads putty, removes nails, cleans rollers, and even opens paint cans. A high-quality angled brush can be used for both cutting in and detail work, eliminating the need for multiple brushes. Smart spending now means fewer trips to the hardware store later!
2. Prep Like a Pro (Because It’s Actually the Most Important Part)
If you think skipping the prep work will save time, think again! A little effort upfront prevents headaches later. Here’s how:
- Use painter’s tape wisely: Stick it down firmly with a putty knife for crisp lines and remove it at a 45-degree angle while the paint is still slightly wet to avoid peeling.
- Plastic wrap your paint tray: Before pouring paint, cover your tray with plastic wrap or aluminum foil. When you’re done, just peel it off—no scrubbing required.
- Rubber band your paint can: Stretch a rubber band across the top of your open paint can and wipe your brush against it instead of the rim—no drips, no mess.
- Vaseline for no-paint zones: Smear a little Vaseline on screws, hinges, or any spots you don’t want painted. The paint won’t stick, and you can wipe it right off later.
3. The Secret to Flawless Paint Application
Now that you’re prepped, let’s talk about the actual painting part.
- Roller magic: Instead of dunking your roller in paint like you’re trying to win a prize at a carnival, load it evenly by rolling it in the tray multiple times. Start painting in a “W” or “M” shape and then fill it in for an even coat—no streaks!
- Box your paint: Mixing multiple cans? Pour them into a larger bucket and stir well. This prevents color variation and ensures consistency across your walls.
- Microwave old painter’s tape: If your painter’s tape is peeling off like a bad sunburn, pop it in the microwave for 10 seconds to soften the adhesive and make it stick better.
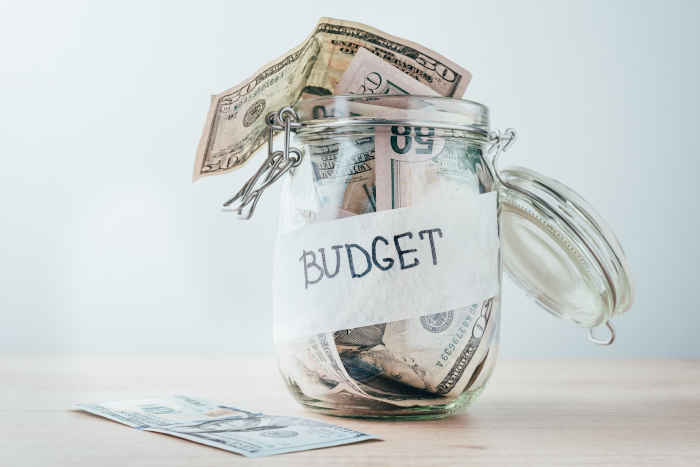
4. Cut Costs with Reusable Supplies
Buying supplies for every new project adds up, but a few reusable options can make a huge difference.
- Wash and reuse rollers and brushes: Quality brushes and rollers can last for years if cleaned properly. Use warm soapy water for latex paint and mineral spirits for oil-based paint.
- Silicone paint trays: These trays let dried paint peel off easily so you can use them again and again.
- DIY drop cloths: Instead of disposable plastic sheets, use old bedsheets, shower curtains, or even large pieces of cardboard to protect your floors.
5. Fast Drying Tricks (Because Who Has Time to Wait?)
Patience is a virtue, but sometimes you just want your paint to dry faster. Try these hacks:
- Use a fan or dehumidifier: Good airflow speeds up drying time significantly.
- Thin coats for the win: Thick layers take longer to dry and are more likely to drip. Apply thin coats and let each layer dry completely before adding another.
- Hairdryer for touch-ups: Need to fix a small spot? Use a hairdryer on a low setting to dry the paint in seconds.
6. Keep Your Paint Fresh for Future Touch-Ups
Ever open an old can of paint only to find a crusty, unusable mess? Don’t let that happen to you!
- Plastic wrap under the lid: Before sealing a paint can, place plastic wrap over the opening to create an airtight seal.
- Store upside down: This keeps air from seeping in and forming a skin on the surface of the paint.
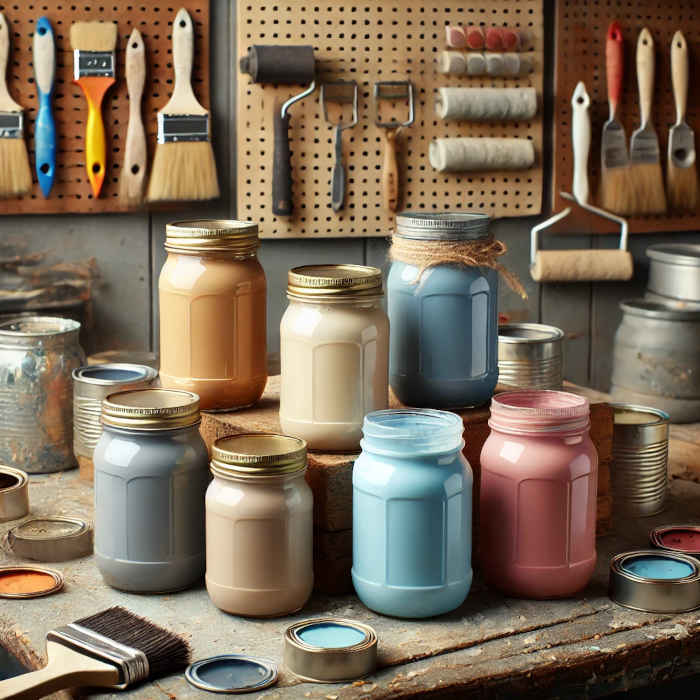
- Use a mason jar for small amounts: If you only need a little for touch-ups, store some in a small airtight jar instead of keeping an entire gallon open.
7. Clean Up Without the Hassle
Cleaning up is the worst part of any painting job, but these tips make it easier:
- Wrap your roller in plastic wrap: If you’re taking a break but plan to keep painting later, wrap your roller or brush in plastic wrap and store it in the fridge. It’ll stay fresh for hours (even overnight!).
- Use vinegar for paint-covered hands: No need to scrub with harsh chemicals—just rub your hands with vinegar, and the paint will come right off.
- Fabric softener for brushes: Soak stiff brushes in a mix of water and a few drops of fabric softener to bring them back to life.
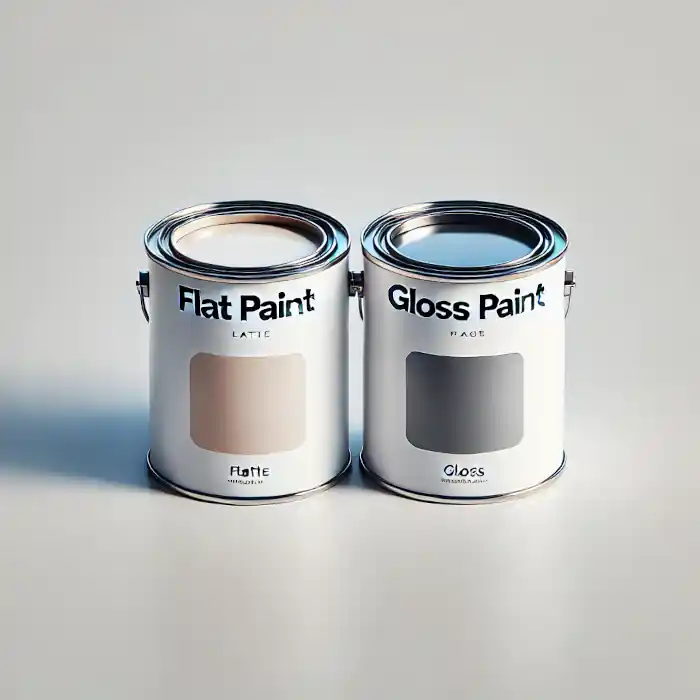
8. Bonus Hack: Make Your Own Chalk Paint
Love the matte look of chalk paint but hate the price tag? Make your own!
Mix:
- 1 cup of latex paint
- 1/3 cup of Plaster of Paris
- 1/3 cup of water
Stir until smooth, and voila! You now have DIY chalk paint at a fraction of the cost.
Final Thoughts
Painting doesn’t have to be a time-consuming, expensive mess. With these DIY hacks, you’ll paint smarter, not harder. Whether you’re refreshing your interior with a paint job or tackling a full house makeover, these tricks will save you money and make the process more enjoyable. Now, go grab your supplies and get rolling!
Views Expressed Disclaimer
The views, opinions, and information presented in this article are for informational purposes only and do not necessarily reflect the official policies or positions of Chagrin Falls Painting. While every effort has been made to ensure accuracy, Chagrin Falls Painting is not liable for any errors, omissions, or decisions made based on the content provided. Readers are encouraged to consult professionals for specific advice or assistance related to their unique circumstances.